Making your homemade sugar scrub is an easy, satisfying method to get smooth, radiant skin at only a fraction of the cost of the store-bought ones. With just a couple of ingredients from your pantry and ingredients, you can make an exfoliant that is luxurious and customizable within a matter of minutes. This guide will guide you through the steps from a simple 3-ingredient sugar scrub recipe to customized blends that are suitable for your body, face and any skin problems you may have.
It doesn’t matter if you’re a DIY lover, seeking out thoughtful homemade gifts or natural solutions for your skin, making the art of making your own sugar scrub is a great way to begin. Let’s take a look at how you can treat your skin using ingredients you trust and know.
Why Choose a Homemade Sugar Scrub?
Before you get deep into recipes it’s important to know the reasons why the sugar scrub for the skin is an excellent supplement for your regimen. Sugar can be regarded as an organic humectant meaning it can help retain moisture. Its granules are a an exfoliation that is gentle and effective to remove the dead cells of your skin.
Contrary to salt scrubs that are often too harsh for skin that is sensitive sugar disintegrates slightly on contact with water, resulting in the smoother, less abrasive experience. Making your scrub at home lets you be in charge by avoiding synthetic scents microplastics, toxins, and a myriad of chemicals and instead choose natural, nutritious ingredients.
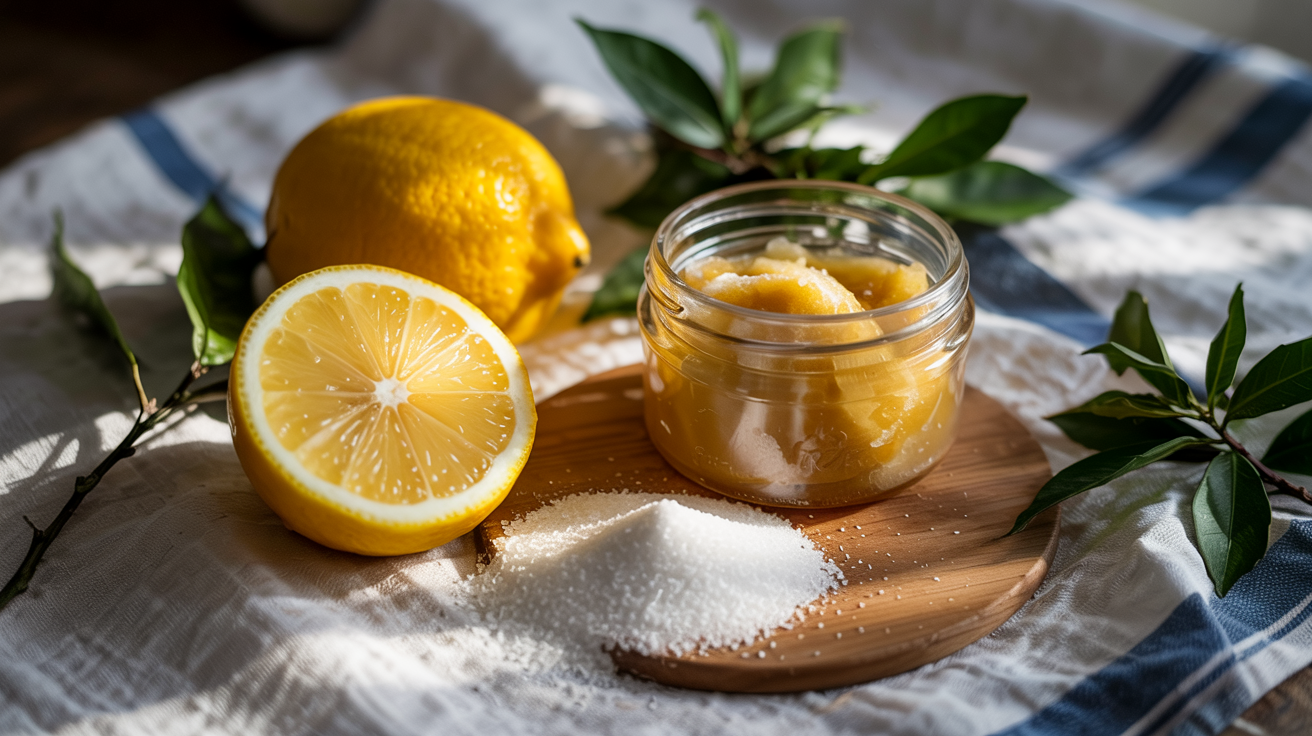
Your Foundation: The Basic 3-Ingredient Sugar Scrub
The appeal of making a DIY scrub is in the simplicity. What is the best way to make sugar scrub yourself? You start with this foundation that is foolproof.
The classic recipe is infinitely adaptable. The usual amount is about 2/3 sugar for 1 part oil, however you can modify it to attain the desired consistency you prefer–more sugar to get a more dense scrub, and more oil for more creamier scrub.
- The exfoliant (Sugar): Your sugar choice determines the texture of the scrub.
- A Moisturizer (Oil): This is a binder for the scrub, and it moisturizes your skin.
- The scent (Optional): This customizes your scrub with scent and possibly therapeutic benefits.
Choosing Your Sugar
The kind of sugar you choose will determine the softness of the exfoliation.
| Type of Sugar | Best For | Texture & Note |
|---|---|---|
| White Cane Sugar | All-over body scrub | Medium grit, dissolves uniformly. |
| Fine Brown Sugar | Sensitive skin, face | Soft, gentle Granules that are very soft and gentle. |
| Turbinado/Raw Sugar | Ears, feet rough spots | Coarse offers an intense exfoliation. |
| Coconut Sugar | A gentle alternative | As brown sugar, but less refined. |
Choosing Your Oil
The carrier oil acts as the main ingredient in moisturizing your scrub. coconut oil is the most well-known option due to its solidity when it’s at room temp, giving an incredibly creamy, rich texture, and providing an intense moisture. If you want to make the Sugar scrub with no coconut oil it is possible to substitute for other oils that are beneficial to your skin.
- Jojoba Oil It mimics skin’s sebum. Excellent for all types of skin.
- Sweet Almond Oil: Lightweight and high in Vitamin E.
- Olive Oil An extremely moisturizing alternative (use an easy, refined version to avoid strong odors).
- Grapeseed Oil Light, non-greasy and 100% natural oil, suitable for skin that is oily or acne prone.
Scents that can be customized
A few drops of essential oils or natural extracts can transform the scrub to a spa experience. Make sure to mix essential oils with the scrub base or carrier oil base. Do not apply them directly to your skin. The most popular choices are:
- Lavender: For relaxation and peace.
- Peppermint as well as Eucalyptus: For an exhilarating, awakened feeling.
- Citrus (Lemon, Orange, Grapefruit): for a refreshing, mood-boosting scent.
- Vanilla Extract for a warming soothing, soft and sweet smell.
Step-by-Step: How to Make Your Scrub
Let’s take it all in. What is an all-sugar scrub with 3 ingredients? The process is very simple.
- Prepare Your oil: If using coconut oil, ensure that it’s the level of a smooth, “frosting-like” consistency. If it’s too stiff you can warm it for 5-10 minutes. If using liquid oils there is no need for preparation.
- Mix: In a medium bowl Mix the oil and sugar thoroughly using a spoon or fork.
- Personalize it: Stir in your preferred essential oil (about 10 to 15 drops for each cup sugar) or other additions.
- Keep: Spoon the mixture into an airtight, clean container, such as a mason bottle. If properly stored, it will be used for months.
Targeted Sugar Scrub Recipes for Your Needs
Once you’ve master the fundamental scrub, you’ll be able to create mixtures to meet specific needs.
For a Glowing Face: Gentle Facial Scrub
A sugar scrub recipe for face requires extra gentleness.
- ingredients: 1/2 cup fine brown or white sugar 1/4 cup of almond or jojoba oil. Add 1-2 drops lavender or frankincense essential oils (optional).
- Methods: Mix gently. To apply, rub the small amount of cream on damp skin using gentle pressure for 30 seconds. Then rinse thoroughly using warm water. Apply only once or twice each week.
For the Body: Luxurious Bath Scrub
This is your ultimate sugar scrub recipe to use on your body to make use of in the shower.
- Composition: 2 cups white cane sugar 1 cup coconut oil soft 10-drops of your preferred essential blend of oils (e.g. Eucalyptus, eucalyptus or lavender).
- Method Blend all of the components. After showering use the cream on the skin, rubbing it in circular motions prior to washing. The oil will create a protection, moisturizing layer.
For Specific Concerns: Brightening Scrub
Many people search for ways on what to do with a sugar scrub to lighten dark legs. The reason for the darkening can be friction or the buildup of dead skin. Gentle, lightening exfoliation could aid in promoting cell turnover.
- Composition: 1 cup of sugar 3-4 tablespoons coconut oil one teaspoon of Lemon juice (rich with vitamin C).
- Method Combine and then gently massage the area for about 1-2 minutes every 2-3 days. Important note: Lemon juice can cause photosensitivity. Always wash thoroughly and apply sunscreen to the affected area when exposed to sunlight. For persistent discoloration, consult a dermatologist.
Pro Tips, Safety, and Gift-Giving Ideas
How to Use Your Scrub Safely & Effectively
- Always test patch testing the new scrub on only a small portion of the skin before applying it to the entire body.
- Apply the cream to the damp, but not dry skin with gentle circular movements.
- Wash thoroughly using warm water. Be careful as coconut oil may make surfaces slippery.
- For use on the body for body use, follow up with a gentle bathing soap if you want to wash away the oily residue. However, applying it to your body will increase the moisture.
- Reduce exfoliation frequency to 3-4 times a week so that you don’t cause irritation to your skin.
Transforming your idea into the perfect Gift
Homemade sugar scrubs make wonderful, heartfelt gifts. Here’s how to give them:
- The scrub should be placed in an attractive, clean jar with a lid that is secure.
- String a string of twine or ribbon around the lid. Attach an easy tag.
- Include the following instructions: “Massage onto damp skin. Rinse well. Enjoy!”
- Think about adding a wooden scoop or spoon to make it more hygienic and stylish.
Your Questions Answered
Do I have to apply sugar scrubs to my face?
Yes, but select the right sugar (like superfine white or brown) and use a gentle touch. Avoid eye areas and avoid over-exfoliating.
My scrub was broken! What could be the cause?
Separation is common, particularly with coconut oil that melts at around the temperature of 76°F (24degC). If the scrub is placed in a bathroom that is warm and the oil rises over the surface. Just stir it back using a spoon prior making use of. No harm done!
How long does a homemade sugar scrubs last?
A simple scrub made of sugar and oil could last for up to 6 months or longer at the room temperature. The sugar content is high and acts as an natural preservative. If you include fresh ingredients, such as citrus zest or puree of fruit and use it within 2-4 weeks. Make sure you dispose of it if there is an unpleasant smell or mold.
Creating your own personalized sugar scrub is more than a beauty project—it’s an act of self-care. With this guide, you have the knowledge to mix, customize, and enjoy spa-quality treatments anytime. Start with the basic sugar scrub recipe with coconut oil , then experiment with scents and sugars to find your perfect blend.
What’s the very first custom sugar scrub mix you’re ecstatic to experiment with in your home? Share your ideas or comments below.